- Published on
How to switch from Tmux to WezTerm
8 min read - 1460 words- Authors

- Name
- Florian Bellmann
Overview
This is a post in which I explain how I switched my terminal multiplexer from Tmux to WezTerm. It's my first post about using WezTerm.
Introduction
Tmux has been around for ever. There are plenty terminal multiplexers to choose from, but I went with Tmux, because it can be installed on remote servers that I might SSH into. Having the same setup locally and on a remote server is handy in the daily work.
Additionally, I loved the integration with Vim. I was always the guy to have one instance of my terminal emulator and multiple shells inside that as opposed to having multiple terminal emulator windows open at the same time.
This was years ago and I had to do some hacky work to make all my configs function the way I wanted to. Now it's October of 2023. It's about time to upgrade.
Why switch
WezTerm is written in rust, hence it's blazingly fast! Jokes aside, it's a brilliant terminal emulator that offers a similar feature set as Tmux paired with Alacritty or Kitty or others. But it's using modern approaches, has great image support and is using Lua as a configuration language. This is a great choice as Neovim has shown before. With Lua, scripting as configuration basically become the same. This has tons of benefits like having system APIs readily available in your configurations.
So, how do to the transition easily? In the following sections I will go through different aspects of my Tmux setup and how I transitioned to WezTerm.
Prerequisites
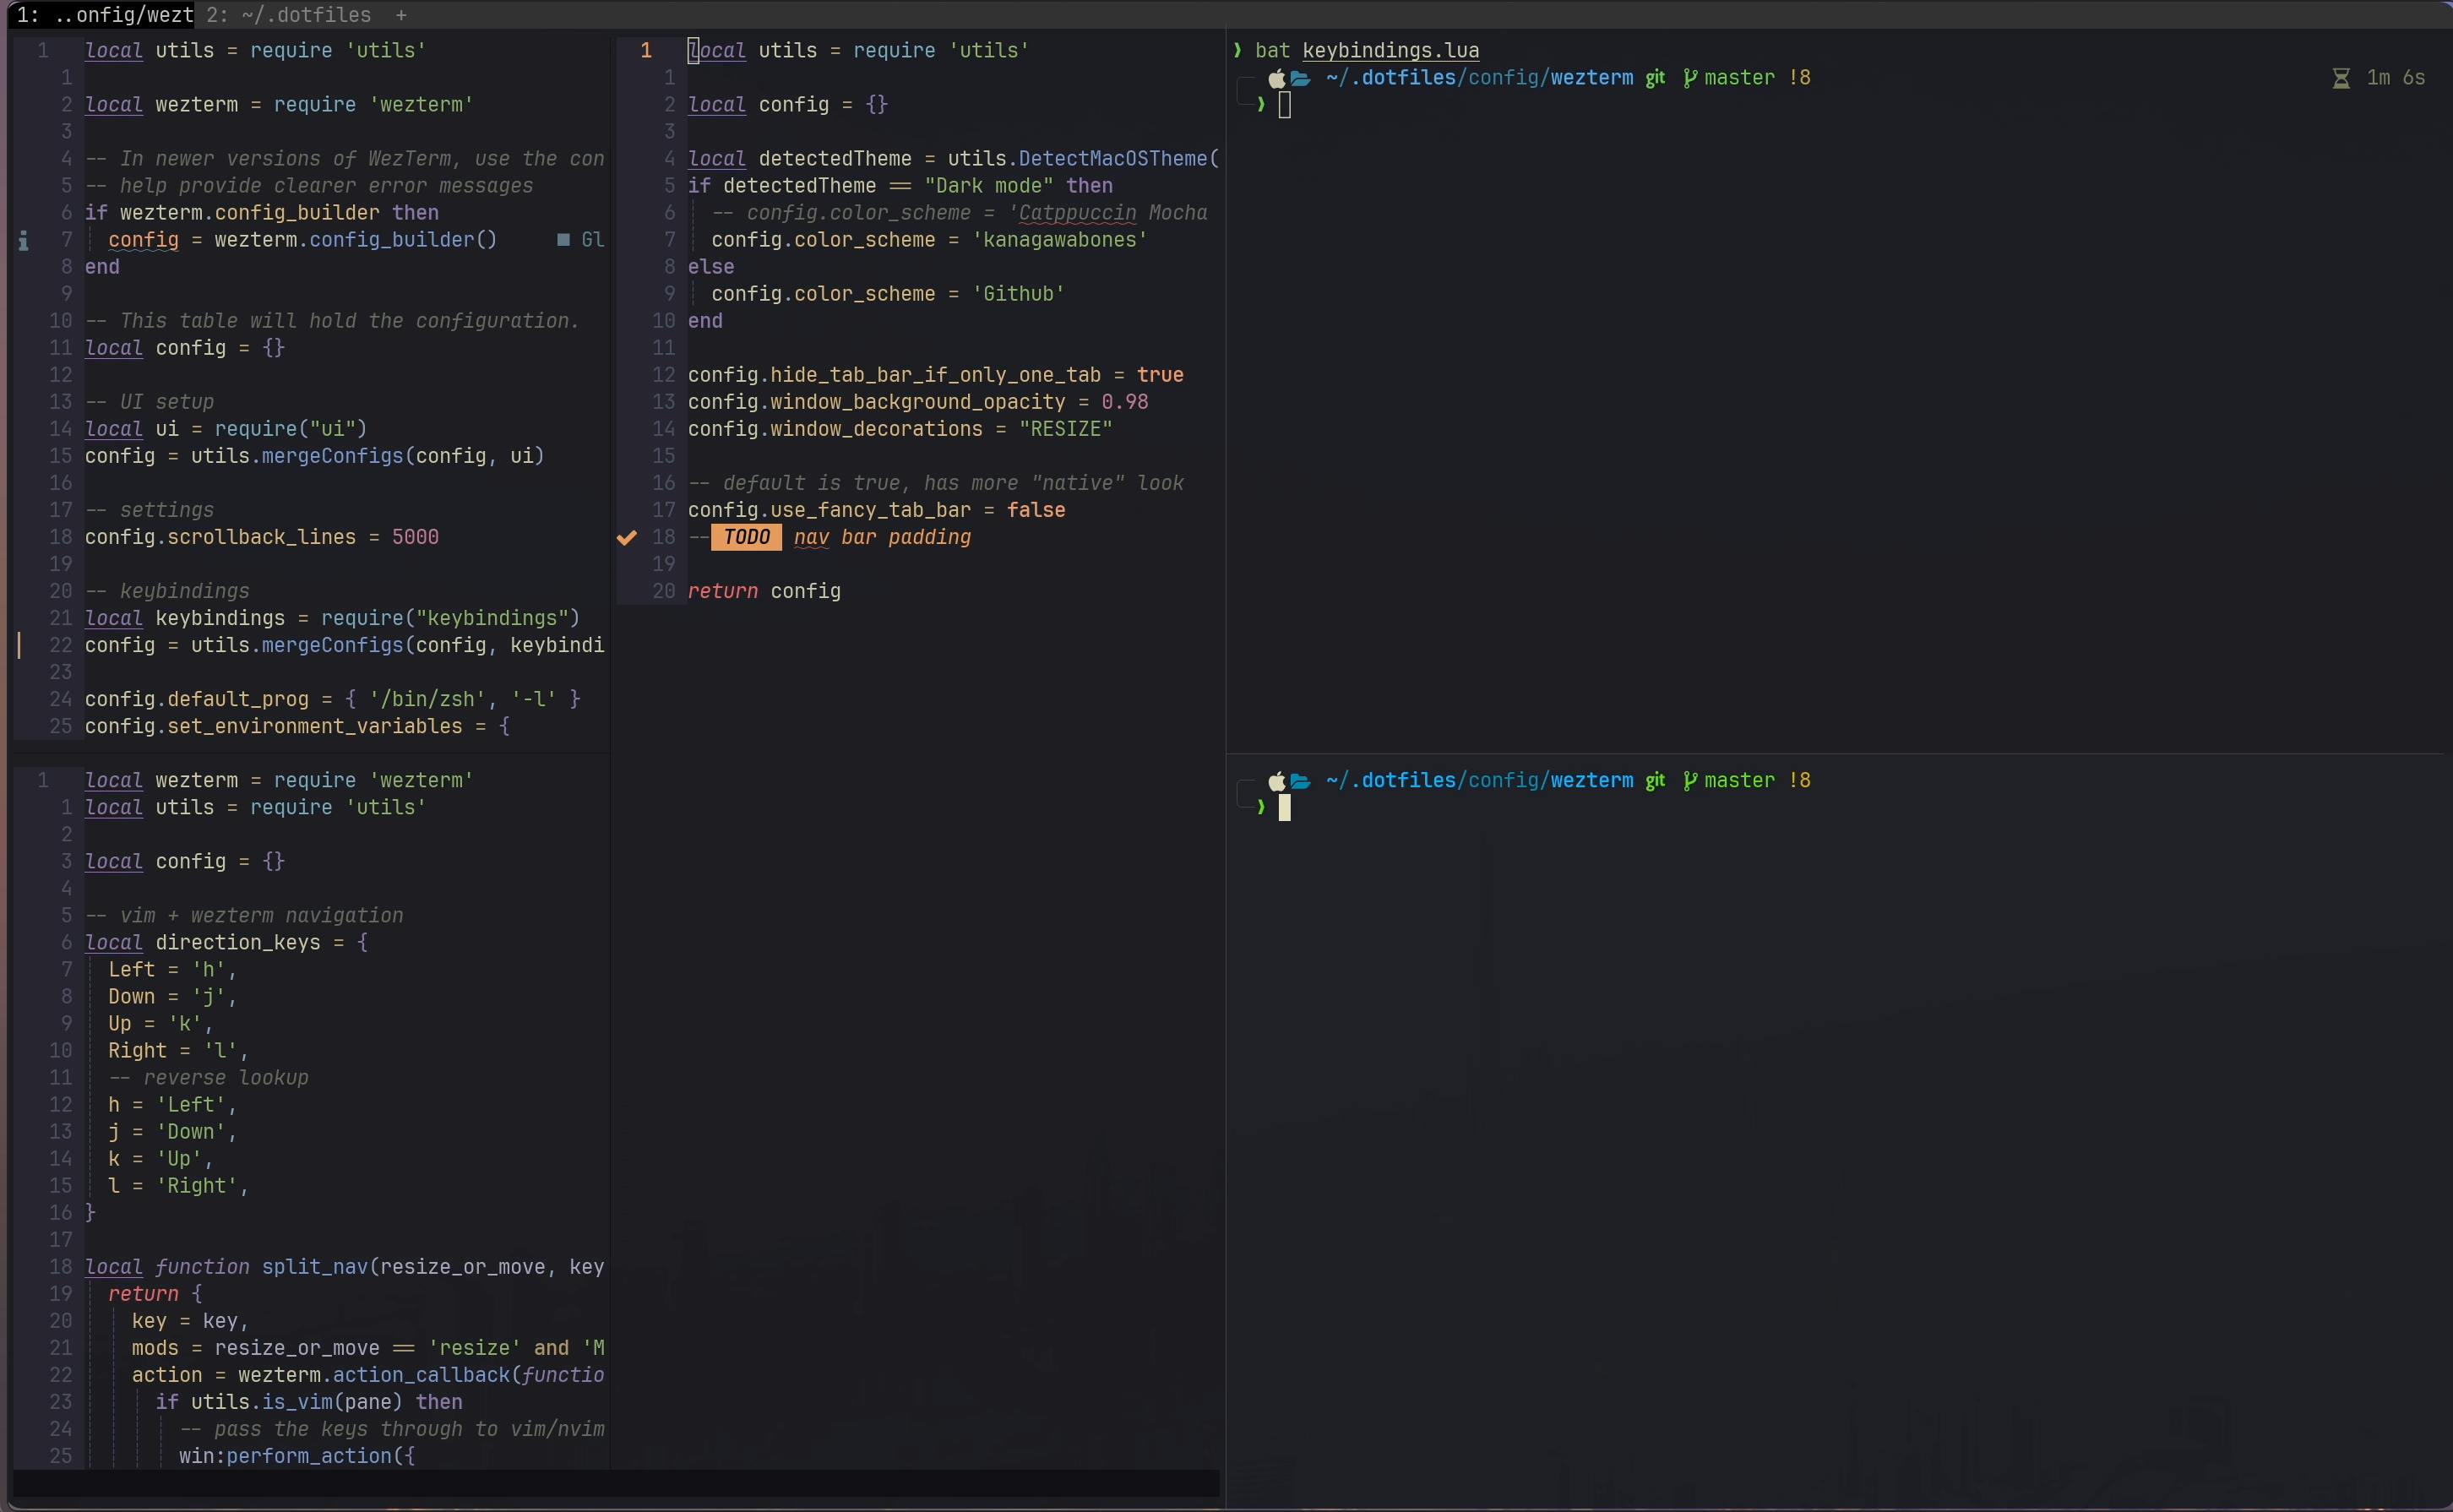
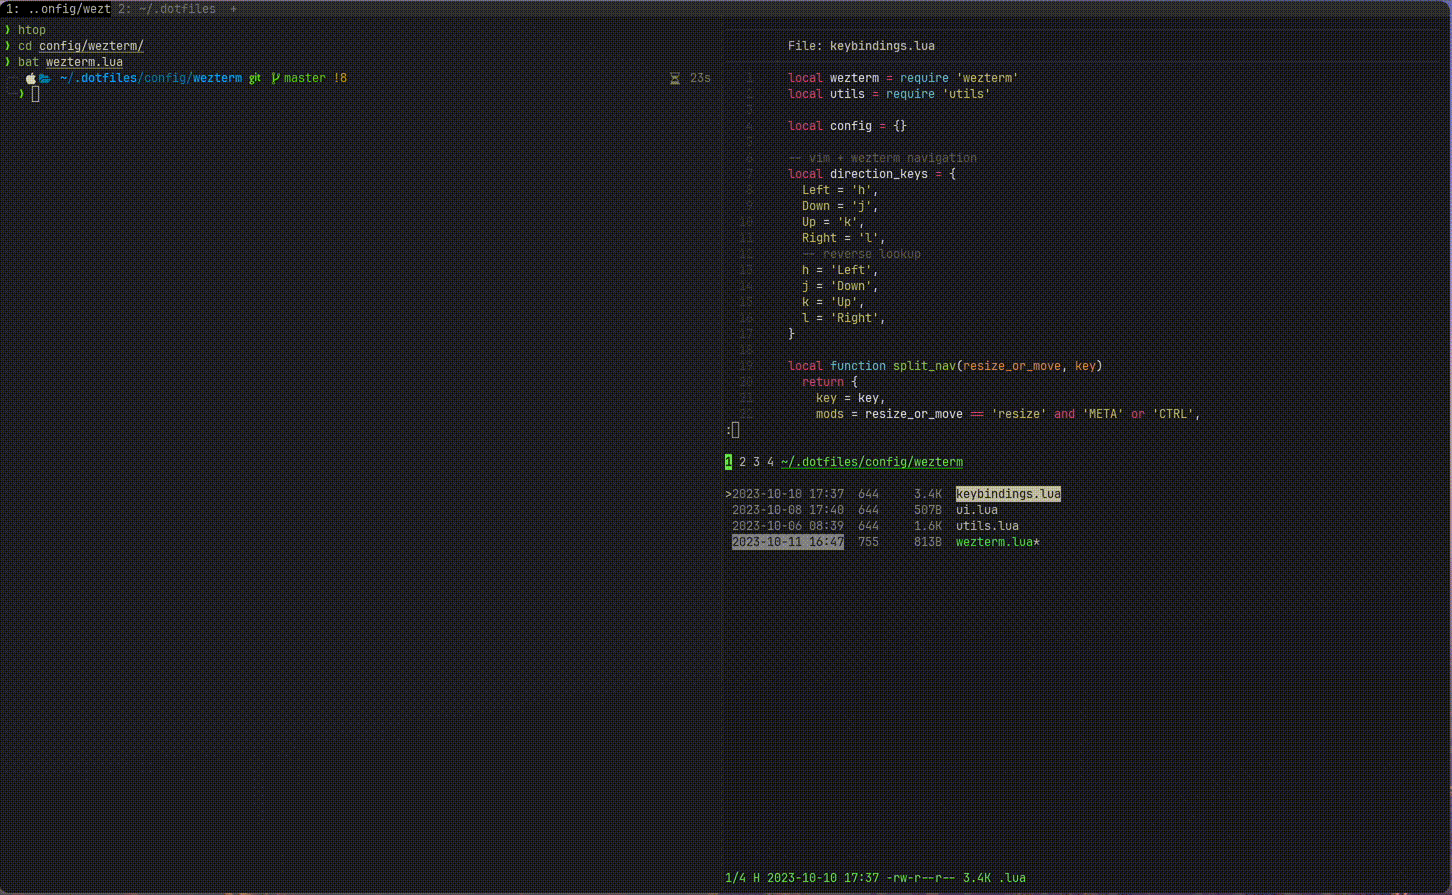
Before proceeding, if you want to follow along, please make sure you have the latest version on WezTerm installed and created a configuration file. For example at ~/.config/wezterm/wezterm.lua
New terminology
When switching from Tmux to WezTerm, we have to adapt our terminology slightly.
Think of the following as equivalent:
| Tmux | WezTerm | Meaning |
|---|---|---|
| Pane | Pane | A single shell. Also called split sometimes. |
| Window | Tab | A collection of shells in the same view. Like a tab. |
| Session | Domain | Distinct set of windows and panes. |
Keybindings for multiplexing
In Tmux there is this thing called a prefix. By default it's Ctrb+b. For me it was Ctrb+a. This is the key combination that you press before you press any other key to trigger a command. For example, Ctrb+a followed by c creates a new window in my configuration. Additionally, I used Prefix+- to split the current window vertically and Prefix+= to split it horizontally.
unbind C-b
set-option -g prefix C-a
bind-key C-a send-prefix

...

bind = split-window -h -c "#{pane_current_path}"
bind - split-window -v -c "#{pane_current_path}"
unbind %
unbind '"'
WezTerm is using a concept called leader key. It's similar to what Vim has. In my new config I set it to Ctrl+a to achieve the same behavior that I had in Tmux.
-- Leader is the same as my old tmux prefix
config.leader = { key = 'a', mods = 'CTRL', timeout_milliseconds = 1000 }
config.keys = {
  -- splitting
  {
    mods   = "LEADER",
    key    = "-",
    action = wezterm.action.SplitVertical { domain = 'CurrentPaneDomain' }
  },
  {
    mods   = "LEADER",
    key    = "=",
    action = wezterm.action.SplitHorizontal { domain = 'CurrentPaneDomain' }
  }
}

Notice that I didn't have to configure a hotkey to create a new window. I use the default OS keybinding Cmd+t to create a new tab. These are first examples where WezTerm's modern approaches come into play. A leader key and sane system keybindings.
Window navigation
The Tmux defaults are Prefix+n for next window and Prefix+p for previous window. I used Prefix+h and Prefix+l, because I'm used to the Vim keybindings.
unbind n
unbind p
bind -r C-h previous-window # select previous window
bind -r C-l next-window     # select next window
No need for any configurations in WezTerm. The default system bindings are Cmd+Tab for next tab and Cmd+Shift+Tab for previous tab.
Maximizing one window over the others
I am a regular user of the Tmux command to zoom in into one particular pane and maximize it. My keybinding for that is Prefix+m. In WezTerm this concept is called TogglePaneZoomState.
config.keys = {

  ...

  {
    mods = 'LEADER',
    key = 'm',
    action = wezterm.action.TogglePaneZoomState
  }
}
Reordering panes
When you have your panes setup, you might come into the situation that you want to change the layout. For that, WezTerm gives you options out of the box.
config.keys = {

  ...

  -- rotate panes
  {
    mods = "LEADER",
    key = "Space",
    action = wezterm.action.RotatePanes "Clockwise"
  },
  -- show the pane selection mode, but have it swap the active and selected panes
  {
    mods = 'LEADER',
    key = '0',
    action = wezterm.action.PaneSelect {
      mode = 'SwapWithActive',
    },
  }
}
The pane-swapping presents you with a selection key for each pane. After choosing it you swap the active pane with the selected one. Of course with WezTerm's extensive API and actions, you can also create new bindings for moving panes around between windows or even domains. This is where the power of Lua and scripting = configuration comes into play again.
WezTerm meets Neovim
As a Neovim user I love navigation through h/j/k/l keys. To walk seamlessly between Neovim buffers and Tmux panes, I used the Vim-Tmux-Navigator. For WezTerm one can switch it out with the Neovim Smart Splits Plugin. It's a brilliant plugin that allows pane navigation with a multitude of terminal multiplexers.
I am using lazy.nvim as a plugin manager for Neovim. To switch to smart-splits I had to replace the plugin in my plugin config.
{
  "christoomey/vim-tmux-navigator"
}
{
  "mrjones2014/smart-splits.nvim"
}
Inside the WezTerm config, we can add the sample from the smart-splits repo. It works out of the box.
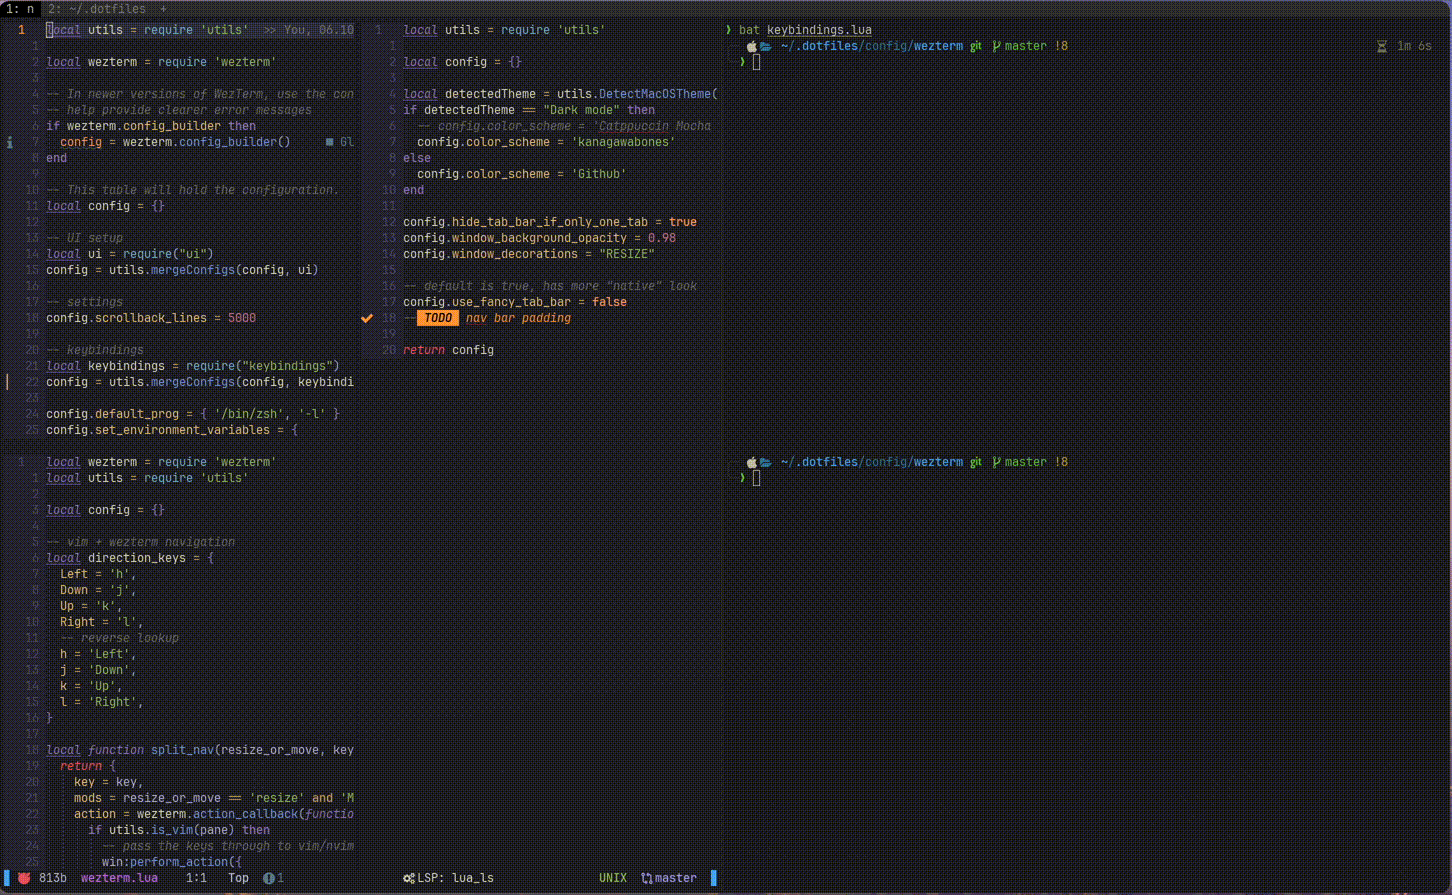
local function is_vim(pane)
  -- this is set by the plugin, and unset on ExitPre in Neovim
  return pane:get_user_vars().IS_NVIM == 'true'
end

local direction_keys = {
  Left = 'h',
  Down = 'j',
  Up = 'k',
  Right = 'l',
  -- reverse lookup
  h = 'Left',
  j = 'Down',
  k = 'Up',
  l = 'Right',
}

local function split_nav(resize_or_move, key)
  return {
    key = key,
    mods = resize_or_move == 'resize' and 'META' or 'CTRL',
    action = w.action_callback(function(win, pane)
      if is_vim(pane) then
        -- pass the keys through to vim/nvim
        win:perform_action({
          SendKey = { key = key, mods = resize_or_move == 'resize' and 'META' or 'CTRL' },
        }, pane)
      else
        if resize_or_move == 'resize' then
          win:perform_action({ AdjustPaneSize = { direction_keys[key], 3 } }, pane)
        else
          win:perform_action({ ActivatePaneDirection = direction_keys[key] }, pane)
        end
      end
    end),
  }
end

return {
  keys = {
    -- move between split panes
    split_nav('move', 'h'),
    split_nav('move', 'j'),
    split_nav('move', 'k'),
    split_nav('move', 'l'),
    -- resize panes
    split_nav('resize', 'h'),
    split_nav('resize', 'j'),
    split_nav('resize', 'k'),
    split_nav('resize', 'l'),
  },
}
Resizing panes
To resize panes in Tmux, I added the following config.
bind j resize-pane -D 10
bind k resize-pane -U 10
bind l resize-pane -L 10
bind h resize-pane -R 10
The equivalent in WezTerm is already covered by the previous section. The combination of the META key and the h/j/k/l keys enable pane resizing. The META key is the Alt key on Windows or the Option key on MacOS.
Vim Mode in the terminal
We all need to browse and copy paste some of the terminal output now and then. In Tmux there is the copy-mode.
# vim mode
bind Enter copy-mode # enter copy mode
set-window-option -g mode-keys vi
bind-key -T copy-mode-vi 'v' send -X begin-selection
bind-key -T copy-mode-vi 'y' send -X copy-selection-and-cancel
In WezTerm we can simply set a keybinding for it.
config.keys = {

  ...

  -- activate copy mode or vim mode
  {
    key = 'Enter',
    mods = 'LEADER',
    action = wezterm.action.ActivateCopyMode
  }
}
Conclusions
It's astonishing how easy it is to switch from Tmux to WezTerm. I'm very glad I spent the time to do it, because the current setup allows for much more flexibility and feels more natural. It's a lightweight configuration and WezTerm is very snappy and responsive.
I feel like whenever I have an idea and want to add something, I have the tools available to do it well and in a readable code style. No need for hacky scripts, adjusting color rendering or other tweaks anymore.
Hopefully, this post is helping you to make the switch as well. If you have any questions, please reach out to me.
Cheers,
Flo